Pinterest

Follow Me on Pinteresthttp://livingwithbyrobin.blogspot.com/

Sunday, August 12, 2012

Diet Soda Cake

I'm at a quandary as to what to call this post.

Do I call it Living with Sugar? This is the first day I have felt truly well in 3 weeks. I won't go into the icky details but it's a side effect my gluten intolerance.  For the last week I've been off sugar completely.  Those of you who know me may have gasped at that last line.  I can't believe it myself.  I actually went an entire week without sugar, fruit and all starches.  I really should lower my future sugar intake too but not today.  Today I want to try a chocolate cake recipe that is crazy simple.  Those of you who don't like processed foods of any kind are excused now.  Those of you who occasionally indulge keep reading.

I could call it Living with Substitutions.  This recipe is inspired by Lori.  Lori is a sweet bubbly co-worker who has been making this lighter version of your standard cake mix for co-workers.  The recipe is simply your favorite cake mix and a can of diet soda.  The ones she's been bringing to work are chocolate with diet cola.

The third possibility is Living with Calculations.  You see the cake mix I had on hand was Pamela's chocolate gluten free cake mix.  The standard cake mix off the grocery shelf contains 18.5oz of ingredients.  Pamela's cake mix is 21oz.  A can of soda is 12 oz.  So how much soda do I add for the larger cake mix?  I could say that I calculated it out on my own but I'd be lying.  I am capable, with time of figuring this out but I have an incredibly intelligent father-in-law who was about 5 feet away.  He is also, after my husband, the sweetest man on earth.  He loves helping so I simply asked him.  He happily showed me the formula for the conversion and calculated it out for me.  Below are the results.  Of course this left me with 10 oz of diet cola which I am now enjoying as a side treat.

Diet Soda Cake
Mine: 1 21oz pkg Pamela's chocolate cake mix & 14 oz (this was rounded from 13.62oz) of diet cola

Mix and bake at 350 degrees for 40 minutes.

I couldn't wait for it to cool and am eating a piece warm.  It really doesn't need frosting or the whipped topping.

Yours: 1 pkg of your favorite cake mix and 1 or more diet soda.  I've heard vanilla and cream soda are good together.  Lori provides light Cool Whip with her cake but I'm not a fan of whipped toppings unless they're real cream and sugar.  That would kind of defeat the diet soda addition.

As you see, I've decided to just call it what it is...Diet Soda Cake

Sunday, July 1, 2012

Winning

News Flash!  I can be a little competitive.  Okay, so I'll do just about anything to win!  This said, when it was announced at work that the next Iron Chef competition was to be Gluten-free, well, I just had to win!  How humiliating would it be if the one person considered the go to semi-expert of gluten-free were to lose the gluten-free competition!  I decided that something sweet and chocolaty was the way to go.  I determined to make my gluten-free chocolate beer cake.  It's intriguing, delicious and looks great for presentation when baked in a bundt pan. Only one problem...the night before the competition I discovered we're out of cocoa...ah oh!!!

Plan B:  I had bought cremini mushrooms thinking that I might be the classic overachiever and make two entries.  Good thing!  Stuffed mushrooms was actually my second choice for entering the competition so imagine my surprise when they came out the winner...hurrah for being the ever blonde scatter brain who forgot to buy cocoa!  The recipe is posted below and as a bonus, I'm posting 2nd place.  Andrea's Caramel Brownies are AMAZING!!!

No one could wait for me to get the camera!

Mushroom Sausage Poppers

-20 cremini mushroom caps, cleaned and stems removed (or 4-6 portabellas*)
-1/2 cup Italian sausage
-1/2 cup Italian sausage (hot or sweet), casing removed (can be made vegetarian with Trader Joe's Soyrizo) for a store near youhttp://www.traderjoes.com/
-1/2 cup sweet yellow onions, finely chopped
-3 garlic cloves, minced
-1/2 cup gluten-free breadcrumbs (a slice or two of gluten-free bread chopped in a food processor)
-2 tablespoons chopped parsley
-1/2 teaspoon kosher salt
-1/4 teaspoon freshly ground pepper
-1/3 cup chicken (or vegetable) stock
-1/2 cup shredded Manchego cheese


  • Preheat the oven to 400 degrees.  Set aside a non-stick baking sheet (I like using mini muffin pans to keep mushrooms upright)
  • Brush the cleaned mushroom caps lightly with olive oil.  Place the mushrooms on the baking sheet "stem-side" facing up.
  • Heat a small, nonstick pan to medium-high and cook the chopped sausage about 3-5 minutes.  Remove sausage from pan and place in a medium sized bowl, set aside.  
  • Add 1 tablespoon of olive oil to the same non-stick pan.  Heat to medium and cook chopped onions until soft and translucent.  Add garlic and cook for 2 minutes, do not brown.  Remove from heat and add to bowl of sausage. 
  • Add the gluten-free breadcrumbs, parsley, salt, pepper and chicken stock to the sausage mixture.  Stir with a fork to combine.  Add the cheese and lightly toss.
  • Use a teaspoon to fill the mushrooms.  Shape the tops into rounded mounds.  Use your hands to pack lightly.  Cook the mushrooms for 20-25 minutes, or until breadcrumbs are browned.  remove from oven and cool for 5-10 minutes before serving warm.  The mushrooms can also be served at room temperature.  
*This can be served as a main course by substituting portabellas for cremini mushrooms.  

Caramel Brownies (Gluten-free of course)

1 bag (14 oz.) caramels (make sure they are gluten-free)
1 can (5oz.) evaporated milk or 2/3 c. divided
1 devil's food chocolate cake mix (Betty Crocker's gluten-free devil's food cake mix was used for the competition.
6 tablespoons butter, melted 
1 pkg. (6oz.) semi-sweet chocolate chips

  • Preheat oven to 350 degrees.
  • Unwrap caramels and place in saucepan with 2 tablespoons evaporated milk.  Set aside. 
  •  In mixing bowl, combine the remaining evaporated milk, dry cake mix and melted butter.  Stir until well blended.  Spread half of this mixture in a greased 13x9x2 inch baking dish.  Mixture will form a thin layer in the pan.  Bake at 350 degrees for 10 minutes only. 
  • Melt the caramels over medium-low heat; stir constantly.  Be careful not to burn.  Remove brownies from oven ;sprinkle with chocolate chips and drizzle melted caramel over the top.  Cover evenly.
  • Drop remaining cake mixture by teaspoons over the caramel.  Return pan to oven and bake 20 minutes more.  Cut while warm but cool before removing from pan.  


Sunday, June 24, 2012

Conversions

I have heard it said that baking is like chemistry.  Well chemistry always brings back memories of beakers and test tubes but only a slight recall of density factors.  I also still hold a fondness for Mr. York, a very caring teacher who tutored me through elemental charts and other sciency things. Then of course who could forget my lab mates, Craig, Barbi and LeAnn.  Ours corner of lab was always the loudest with all of us laughing about one mishap or another.

So what does all this mean to baking?  In chemistry lab had we added a little too much this or a little to less of that, we could have had a mishap or two.  Oh we did!  Well, not big ones but I remember a few things bubbling over that shouldn't have.  What I'm trying to say is in baking as in Mr. York's chemistry class,  measurements need to be precise.  I'm not sure it was Mr. York or someone else along the way but I never had issues with measuring properly but then came living with gluten free flours.  The density of flours differs from one variety to another and when it comes to baking it is density that is more a factor than weight.  This may not sound technical but remember, I had to be tutored through chemistry class.  So now, I tutor you!  Hopefully in language that makes sense.

When I take on a recipe that I want to convert I have come up with a very simple chart of reference.  You will need a weight scale.  I took mine and weighed all-purpose wheat flour in different measurements.  When a recipe calls for a cup of flour, I look at my chart and know that a cup of wheat flour weighed 5 1/4 oz.  It is simply then a matter of weighing 5 1/4 oz of which ever gluten-free flour blend that I choose.

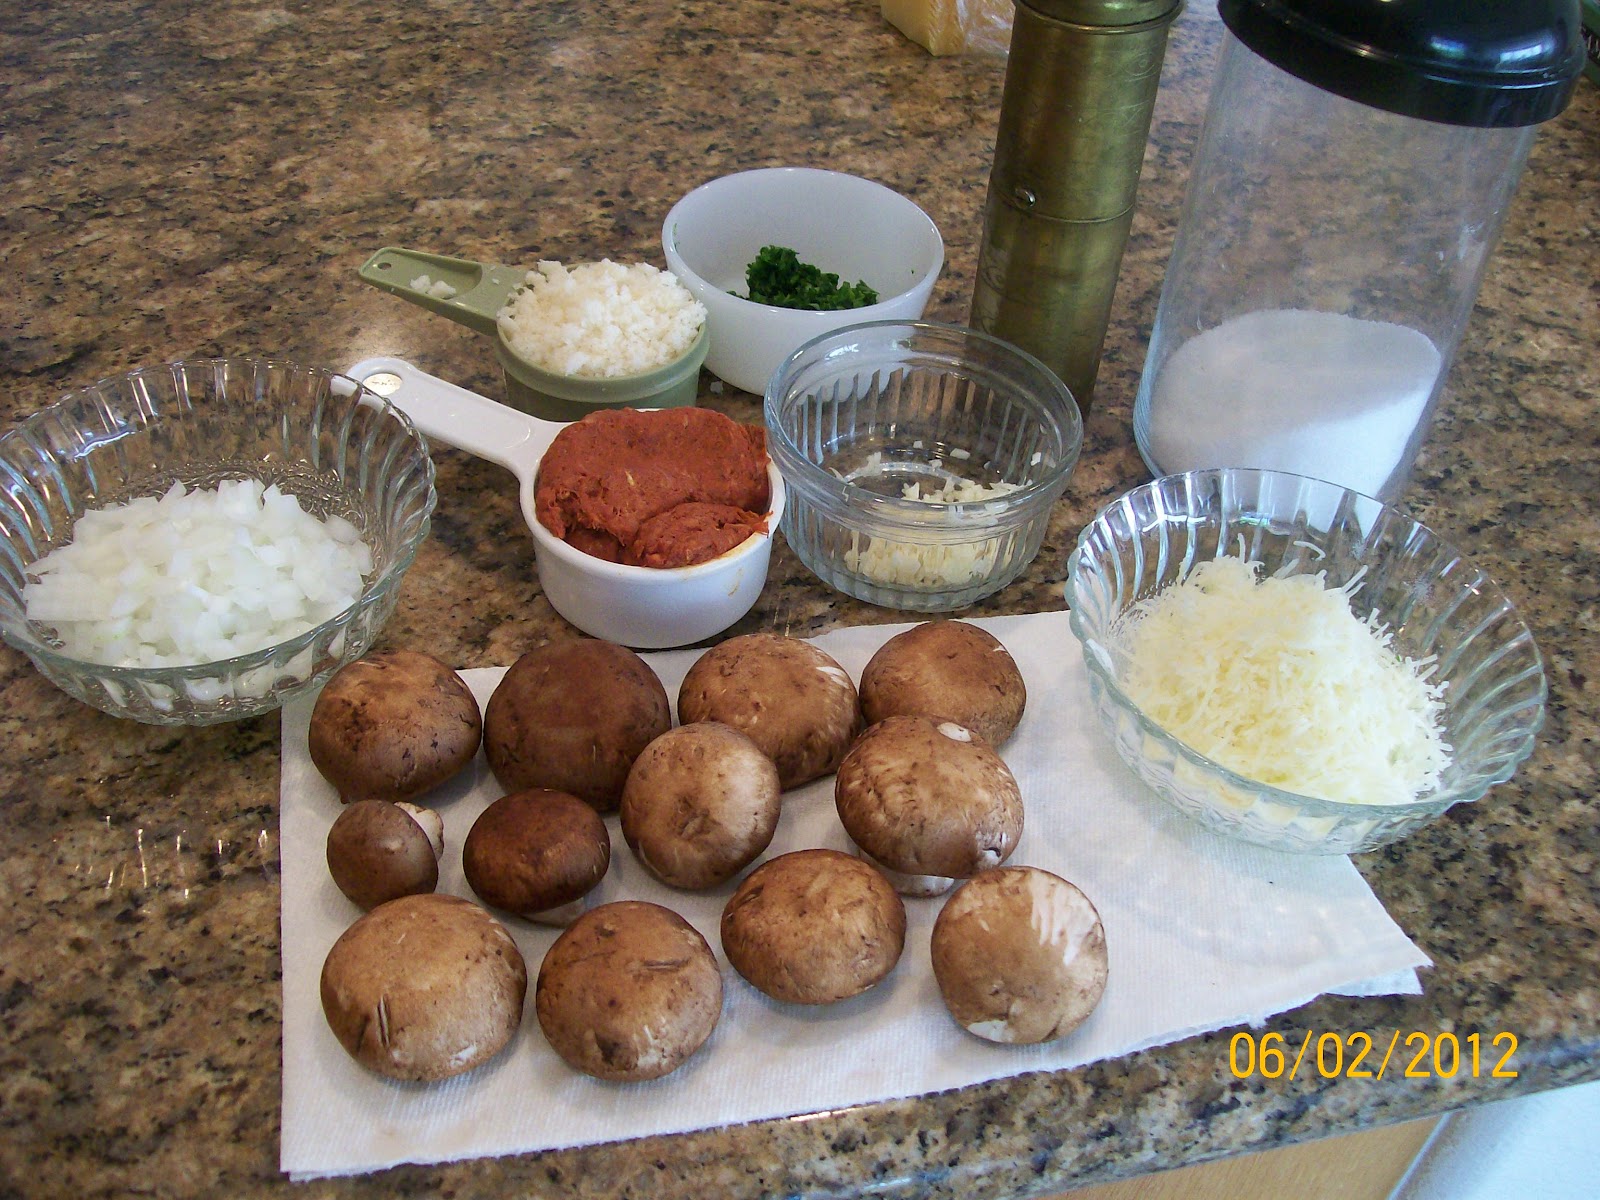
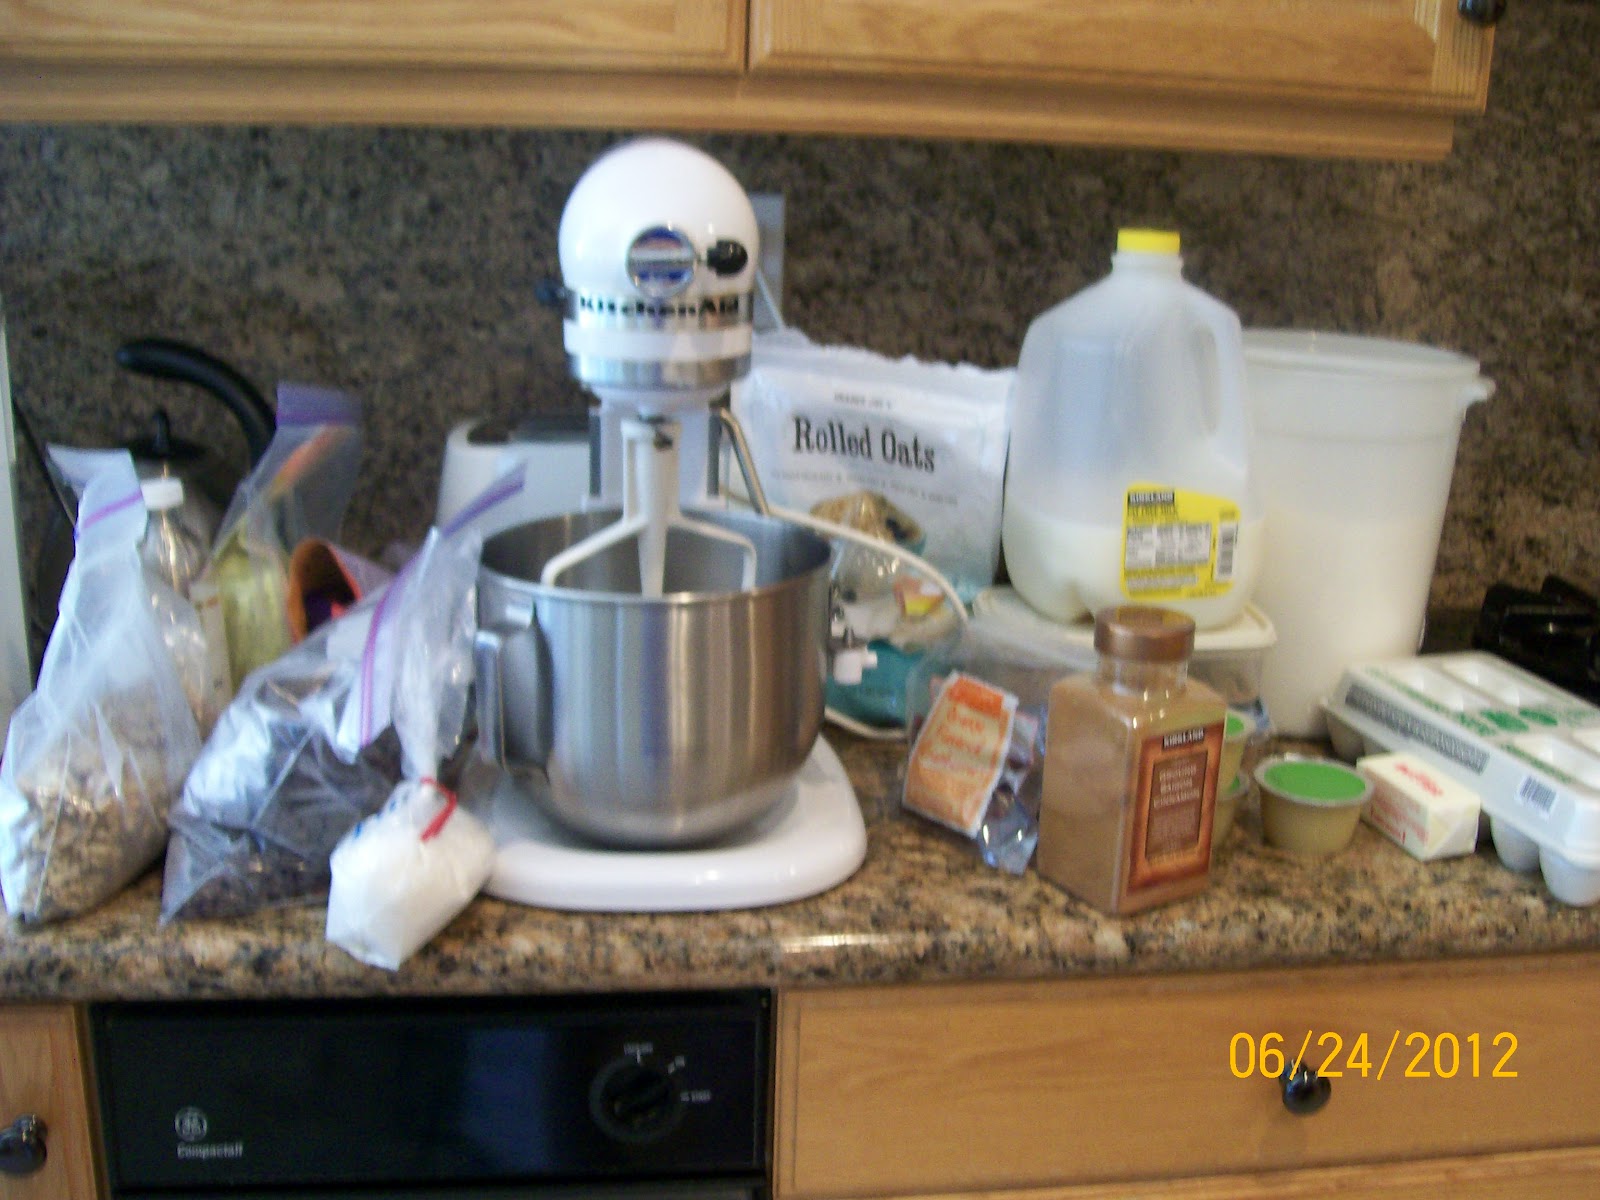
I had a lot of time today so I have converted two recipes.  The first is a cookie that I used to bake a lot.  I LOVE these cookies.  The original recipe I found on the underside of the round lid from a box of Quaker oats.  I buy oats that are gluten free now and have long ago lost the recipe.  If anyone has a box, I'd love the recipe.  I used to take the shortening part of that recipe out and put in double that amount of applesauce.  The recipe I used today is one my mother-in-law had and is from a Sun-Maid raisin recipe booklet.  I converted it to the following and they are yummy!

Cowboy Cookies (I've also called these Everything Cookies since they have everything but the kitchen sink in them. 

1/2 cup butter
1 cup applesauce **
1/2 cup granulated sugar
1/4 cup milk
1 large egg
1 teaspoon vanilla
5 1/4 oz (weighted not measured) all purpose gluten-free flour  (I used Pamela's for this recipe)
1 teaspoon cinnamon
1/2 teaspoon baking soda
1/4 teaspoon salt
3 cups gluten-free oats
1 cup raisins ***
1 cup coarsely chopped walnuts

Preheat oven to 350 degrees.  

Beat butter, sugars, applesauce, milk, egg and vanilla in a large bowl until light and fluffy.  

Combine flour, cinnamon, baking soda and salt in a separate bowl.  Gradually add to butter mixture; mix well.

Stir in oats, raisins and walnuts.

Drop by tablespoonfuls onto cookie sheet.  I cover mine with parchment paper. ****
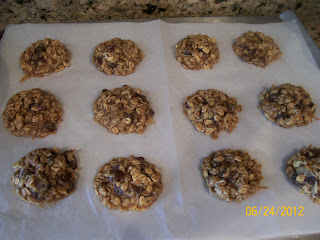
Bake 12-18 minutes.  Remove from cookie sheet and cool completely.

**I keep unsweetened applesauce snack packs on hand for this.  If I buy a jar I never know what to do with the remainder of the applesauce.  Our household is not big on just eating applesauce.  In this recipe I used two packs.
***My son asked me to use dried cranberries this time.  I have also used dried dates chopped.  Any dried fruit you have on hand should work.  
****I use a cookie scoop and love the results.


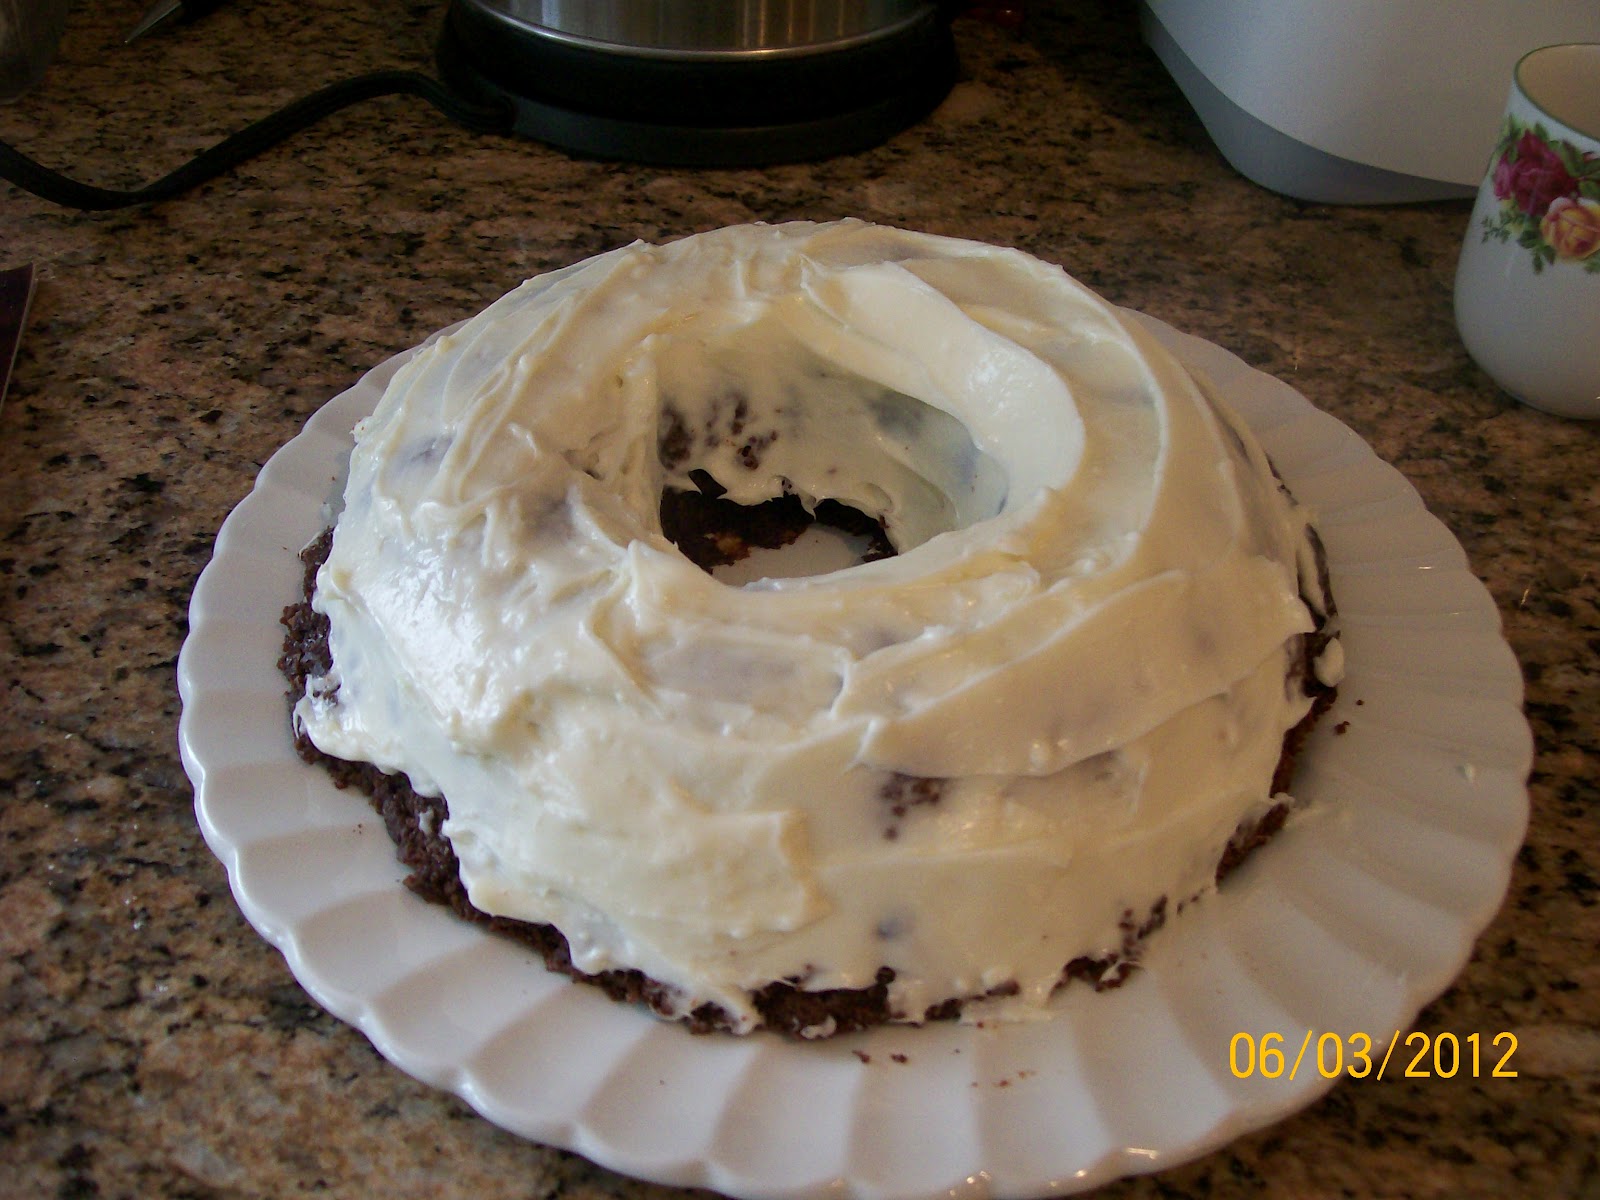
This next recipe came about because my mother-in-law baked a loaf to serve this weekend.  It looked so good I wanted to try it.  I followed her recipe to the letter only substituting gluten-free flour by weight in place of wheat flour.

Harvest Loaf 

9 1/4 oz. (by weight not measurement) gluten-free flour blend. (I used Arnel's this time)
1 teaspoon baking soda
1 teaspoon cinnamon*
1/2 teaspoon salt
1/2 teaspoon nutmeg*
1/4 teaspoon ginger*
1/4 teaspoon ground cloves*
1/2 cup butter
1 cup sugar
2 eggs
3/4 cup canned or cooked pumpkin
3/4 cup chocolate chips
3/4 cup walnuts, chopped

Grease the bottom of a loaf pan.  (I used an 8x4 inch pan)  Combine flour, soda, salt and spices and set aside.  Cream butter and gradually add sugar; cream well.  Blend in eggs and mix well. On low speed add dry ingredients alternately with pumpkin, beginning and ending with dry ingredients.  Stir in chocolate chips and walnuts.  Turn into prepared pan.  Bake at 350 degrees for 65-75 minutes.  Let stand a few minutes before removing from pan.  Allow to cool several hours before slicing.  

Optional topping (we've never used it)
Combine 1/2 cup powdered sugar, 1/8 teaspoon nutmeg and 1/8 teaspoon cinnamon.  Blend in 1/2 tablespoons of cream until the consistency of a glaze.  Pour over loaf.  

*If desired you can substitute 2 teaspoons of pumpkin pie spice for the spices.  I wanted to follow the recipe as written first time through so I used all the spices separately.  

Conversion Chart 

1/4 cup = 1 3/8 oz.
1/3 cup = 1 5/8 oz.
1/2 cup = 2 5/8oz.
2/3 cup = 3 1/4 oz.
3/4 cup = 4 oz.
1 cup = 5 1/4 oz. 

To make this chart I weighed all purpose wheat flour on an electronic kitchen scale.  This is not an exact science (see science class paragraph above) but has worked so far.  


Sunday, June 10, 2012

Vegetarian Pasta

There are times I get an idea for a recipe and spend weeks thinking about it, shopping for it and testing and re-resting it.  That's not the case with this one.  This recipe was a total fluke and you'll love it.

My parents are vegetarians and were coming to visit recently.  Time to pull out the vegetarian recipes.  My mother-in-law was going to do the grocery shopping (she usually does and I'm totally spoiled).  I told her I was going to make Macaroni and Cheese.  I was meaning the recipe I posted several months ago.  It's a great "go to" recipe for kids, vegetarians or just cheese lovers.  I sat the box of Ancient Harvest Quinoa pasta (my favorite pasta) out on the counter.  When I got home my wonderful mother-in-law had purchased all the ingredients for the Mexaroni and Cheese recipe that was printed on the pasta box.  Amused, I read the recipe and it looked worthy of trying...YUM!!!  You'll love it!

Mexaroni and Cheese

1 Pkg. Super grain gluten-free Pasta (Great Harvest Quinoa)
1/2 cup Sour cream
1 cup Milk
1 Tbs. Cornstarch
4 oz Green chilies, chopped
9 oz. Sharp cheddar cheese, grated
2 Tbs. Butter
1/4 cup Pitted black olives, sliced (I used kalamata olives)
Salt to taste
1 Small jar Pimentos crushed
Corn Flakes (I used Corn Chex because I couldn't find gluten-free corn flakes at my local market)

Cook Pasta in lightly salted boiling water for 4-6 minutes or until just done.  Drain and set aside.  Melt butter in saucepan.  In a small bowl, mix cornstarch and milk.  Add cornstarch mixture to butter and cook until thickened, stirring consistently.  Add cheddar cheese to sauce and cook slowly until melted, again stirring constantly.  Add sour cream, green chilies, olives, pimentos and salt to taste.

Combine sauce with pasta and put into a casserole dish.  Cover top with crushed corn cereal.  Dot with butter.  Bake at 350 degrees until lightly browned, about 30 minutes.

The box said it serves 4 but there were 6 of us and we had a little left over.  Served with a salad and a green vegetable, it was a completely delicious and satisfying gluten-free, vegetarian meal.

Just for fun, you might enjoy the web site I found for Ancient Harvest Quinoa.  There are several recipes I've just gotta try!  http://www.quinoa.net/106.html

Sunday, June 3, 2012

Beer Part 2...Chocolate Beer Cake

Steve and I enjoyed one of our favorite past times yesterday.  We savored a selection of wines at our local BevMo store.  I mentioned to Zack, our favorite Sommelier, that I was toying with making another gluten free beer recipe.  When I told him it was a chocolate cake he suggested I use Green's Dubbel Dark Ale.  This is a Belgium beer made with Millet, Buckwheat, Rice, Sorghum, Hops and Yeast.  I've promised Zack I will bring him some cake if it turns out so I have to write quickly and get back to BevMo.  


The cake takes only one cup of beer which leaves quite a bit of beer in the bottle.  I'd tell you how it tastes but as I've mentioned before, I really don't like the taste of beer!  But never fear, between Steve, my husband and his father the beer did not go to waste.    


The recipe comes from one of my favorite online gluten free sites http://www.livingwithout.com/  This is their cover recipe this month. I made a few small variations which I will share with you.


Beer Chocolate Cake

  • ¾ cup sour cream 
  • 2 large eggs 
  • 1 tablespoon pure vanilla extract 
  • 1 cup gluten-free ale or beer (I used Green's Dubbel Dark Ale)
  • 8 tablespoons unsalted butter
  • ¾ cup unsweetened cocoa powder 
  • 2 cups granulated cane sugar
  • 2 cups gluten free all purpose flour blend (I used Pamela's Pancake and Baking Mix but be careful this one has nuts in it.  If I make it for a nut free environment I'll use another brand) 
  • 1 teaspoon xanthan gum (if your flour doesn't include xanthan gum)
  • 1 tablespoon baking soda 

Preheat oven to 350°F. Grease a 9-inch spring-form tube or bundt pan and dust lightly with gluten-free starch.  (This is the only time I use a spray on oil so I can get in the grooves of my bundt pan quickly and evenly.  I also think this would make a great sheet cake if you don't' want the hassle of a bundt pan.)
In a small bowl, whisk sour cream with eggs and vanilla.  Set aside.  
Measure out 1 cup ale.  Let the head (the bubbles on top) settle to be sure your measurement is correct. Pour ale into a large saucepan. Add butter and heat over medium heat just until melted. Whisk in cocoa powder and sugar until smooth. (This takes almost no time at all so be aware.)
Add egg mixture to the saucepan mixture and whisk. Add flour blend, xanthan gum and baking soda and stir well to combine.  (again work quickly)
Pour batter into prepared pan and bake in preheated oven for 35 to 40 minutes or until a cake tester inserted into the center comes out fairly clean.  (Put a cookie sheet or layer of foil under your cake in case it bubbles over the top like mine did)
Let cake cool in the pan on a rack for 15 minutes. Then invert cake to remove from pan onto a cake plate.  Frost/glaze when cake is completely cool.  

Cream Cheese Frosting

  • 1 (8-ounce) package cream cheese  room temperature
  • 1 cup sifted confectioners’ sugar (I really need a new sifter for this part!)
  • Up to 1/2 cup heavy cream (I didn't use any of the cream and it was a great consistency for frosting.  If you want more of a glaze try a little cream.

Whip cream cheese and sugar until smooth. Slowly stir in only enough cream to make frosting a spreadable consistency.

Now, I'm off to BevMo with my cake...hope they like it...

Sunday, May 20, 2012

German Chocolate Cookies

Did I tell you I LOVE chocolate?  I know, only every other post!  So when I told  you about Good Habit's cookies recently, it got me to thinking.  Their cookies are named after familiar desserts like Carrot Cake and Apple Pie Ala mode.  Since my favorite cake growing up was German Chocolate, I decided I wanted to try and recreate a similar taste treat in a cookie.  I love the gooey coconut and pecan topping!

Now if I had all the time in the world to spend in the kitchen, I would probably start a recipe such as this by blending various gluten free flours together.  I am not that person!  I work.  If you, like me, love to cook but don't have all day to spend making one batch of cookies, you will love this recipe.

German Chocolate Cookie

1 pkg Gluten-Free Brownie Mix (I used King Arthur Flour)
2 cups toasted coconut
2 cups pecans toasted and then chopped
2 eggs
8 Tablespoons butter
1-2 Tablespoons milk

Mix butter and eggs together with an electric mixer.  Stop mixer and add brownie mix.  Turn mixer on low till the mix starts to incorporate into the butter and eggs and then turn up to medium.  Mix only till fully incorporated.   Add coconut and pecans 1 cup at a time, blending slightly after each addition. 

Lay two pieces of plastic wrap out on your counter.  Place half of the batter on each sheet.  Wrap the two sections in the plastic wrap and freeze for 30 minutes if baking today.  Freeze completely if you want to bake them another day. 

Place a piece of parchment paper on a cookie sheet.  Cut the batter with a sharp knife into even squares.  You can round the pieces slightly by rolling them in your hands before placing them on the parchment paper if you like.  I only did this with the pieces that were more rectangle than square. 

Place in 350 degree oven for approximately 12 minutes.  Cooking time will vary depending on the size you cut your squares.   You want to bake the cookies till they just begin to loose their shine.  Cool before removing from the parchment.  They peal off nicely when cooled completely. 

TIPS
Toasting Coconut: place coconut on a cookie sheet in a thin layer.  Bake at 350 degrees for approximately 4 minutes.  Watch it because it will burn quickly.
       
Toasting Pecans: My mother-in-law taught me to toast pecans by placing them on a paper towel and microwaving them.  I microwaved the nuts for this cookie 3 minutes, stirred them and then microwaved them in increments of 1 minute three more times for a total of 6 minutes.
       
Freeze: Freezing cookie dough is easy and brilliant!  Place the wrapped cookie dough in a freezer bag.  Mark the outside of the bag with the name of the cookie and it's cooking instructions.  My Mother-in-law pointed out that they're great when someone calls and says I'm going to be there in 30 minutes.  Simply turn your oven on, cut off a few cookies and bake.  You will have warm yummy cookies when your guests arrive and the house smells great! 

Mother-in-laws have great tips...listen to them!

Sunday, April 29, 2012

Biscuits and Mom's Tomato Gravy

Did I tell you that I have southern roots?  My family roots go back to Florida, Mississippi, Tennessee and West Virginia.  One thing southern people like is their biscuits!  I remember my mothers biscuit bowl.  A good southern woman will have a large bowl just for biscuits.  This bowl always has flour in it.  A good southern woman will curl her hand into a fist and make a little well in the middle of the flour.  Into this well she will add her shortening, lard or butter.   If she has any self respect the next thing she will add is buttermilk.  My mother, the good southern woman that she is, would then pinch off just the right amount of dough and roll it in her hands as she curled under the edges making a perfectly round little bit of biscuit dough.  If you can't picture that don't worry, I've spent 50 some years trying to figure out how she does that and I've come up with my own version.  Mom bakes her biscuits in a cast iron skillet and this is a tradition I faithfully and/or stubbornly stick to.  Mom also uses a cast iron skillet to make her gravy.  You can use any skillet  you have on hand but I swear it will taste better in cast iron and any good southern woman will have at least two.  Thanks to my loving husband who loves to collect old kitchen ware we have at least 6 or 7 cast iron skillets of varying sizes.  Some day I'll get them all in one place and show you a picture of them. 

Back to the southern roots.  I woke up this morning with a hankerin for biscuits.  If you are from the south you know what this is.  If your not it's an incredible craving for something you just have to have.  Since I've been wanting to try gluten free gravy I decided to do both. 

Biscuits
2 cups Gluten Free flour blend + a little for your board (I used Pamela's)
8 oz. cold butter cut in about 8 pieces
2/3 cup cold buttermilk

Preheat oven to 375 degrees.  If you're a transplanted southern woman like I am you will next plug in the food processor.  Place the flour in the tub of the processor with the cold butter.  Pulse till you have pea size flour/butter bits.  With the processor running pour the buttermilk through the feed tube.  Process just till blended.  Use your flour blend to flour a cutting board.  Scrape the dough onto the flour.  Kneed gently just till it will hold together well.  Do NOT over kneed or you will have heavy biscuits.  It is at this point that I gather the dough into a round and flatten slightly.  With a sharp knife I cut the dough into 8 equal wedges.  You could places these wedges in your greased cast iron skillet or on a baking sheet but I don't.  In an attempt to still be a respectable southern woman who can still look herself in the mirror after baking her biscuits, I take each wedge and roll it slightly in my hand with a little flour till I get an a round that resembles my mother's biscuits somewhat.  I then place my rounds in said greased cast iron skillet.  I have my respect still in tact as I place the pan in the oven to bake for 20 minutes. 

Tomato Gravy
4 oz. butter
4 - 6 T Gluten Free flour blend (again with the Pamela's)
Pinch of salt and pepper
1 can chopped tomatoes (drain and keep liquid)
1 cup milk

Over medium heat melt your butter in a cast iron skillet or seriously in anything you have that will heat butter.  Sprinkle the flour blend, salt and pepper over your melted butter and let brown for a minute or two being careful not to burn.  Pour the juice from the tomatoes over the butter and whisk quickly.  Pour in the milk as  you continue to whisk.  Add the tomatoes and continue stirring till mixture is slightly thickened.  Serve over buttered biscuits if you want them Southern style.